Anniversary Trip Around the World
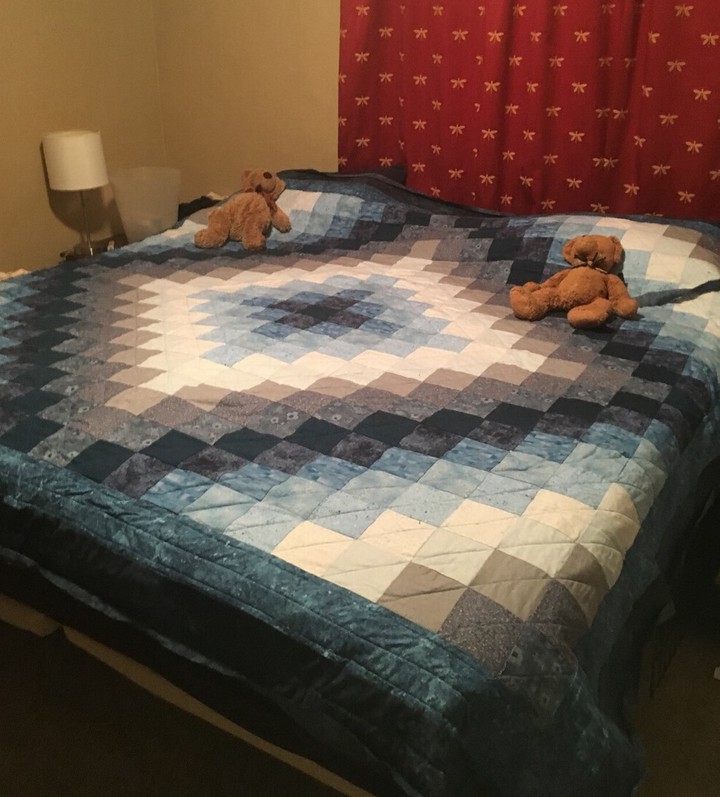
Since I don’t have the pattern to hand, I’m not sharing math but it’s something most intermediate quilters could reverse-engineer (and I link another post below). Begin by sewing rows of equal-width strips together to make an enormous block:
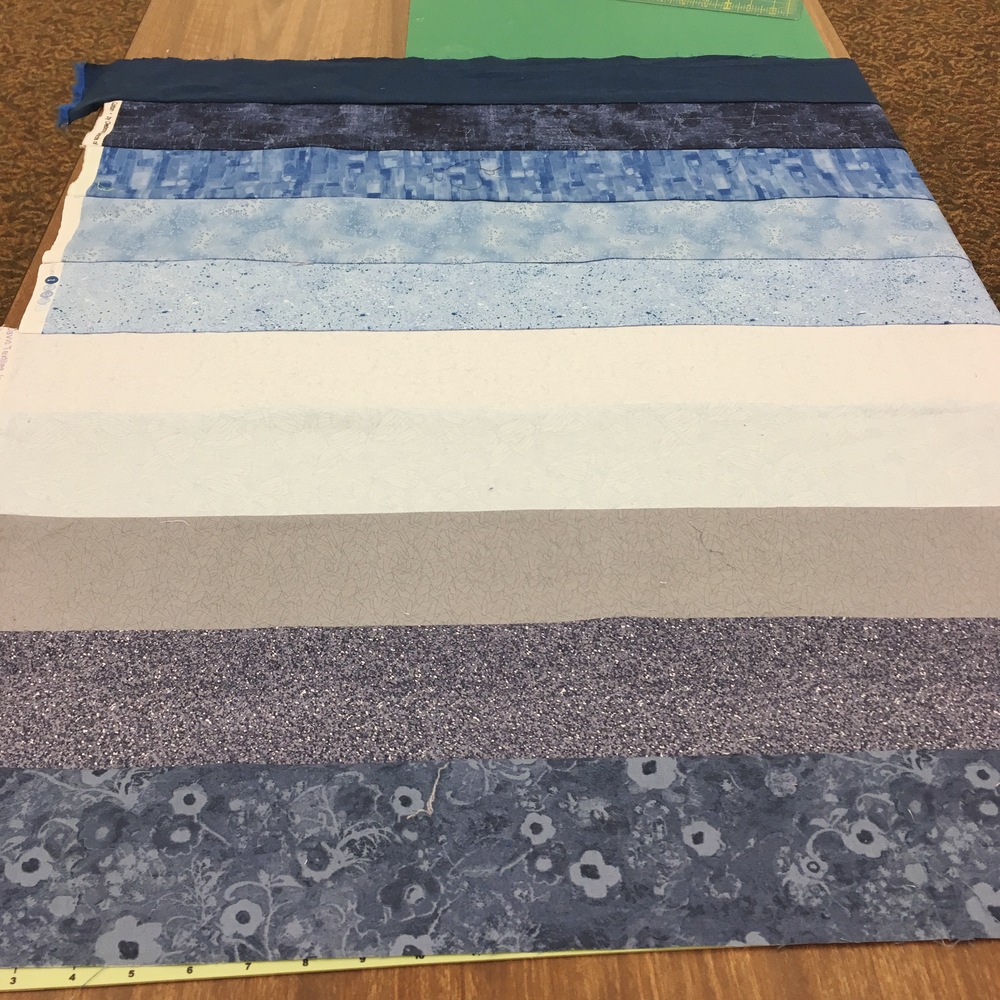
Next, cut the block vertically into strips the width of your original single-fabric strips (including seam allowance).
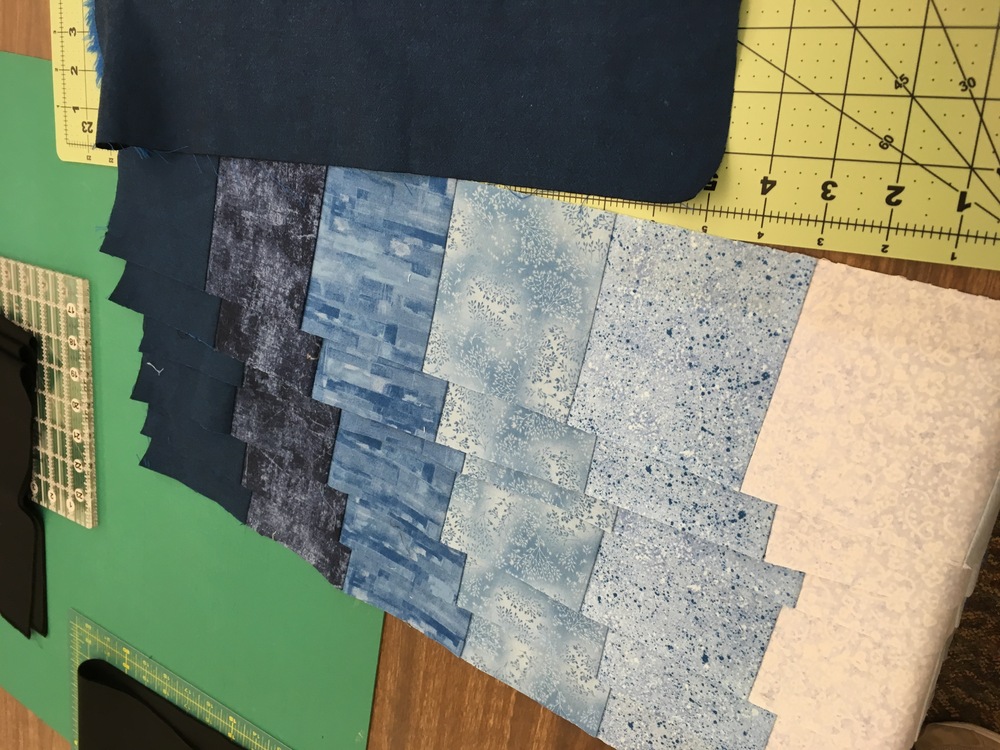
You then make the quilt quadrant by quadrant. For the first quadrant, leave column 1 as-is. In column 2, unpick the first seam (starting on the end with the color you want in the center) and move that block to the other end of the column. In column 3, unpick 2 blocks. In column 4, unpick 3. You’re essentially shifting the whole thing. It’s hard to describem, but it makes sense when you look at as you work through it.
For the other quadrants, start with column 2.
Throughout the process, you’ll want to lay things out or put them on a design wall and be sure you’re heading in the right direction. You can piece them as quadrants but I decided to assemble and connect the columns first and then piece it one by one.
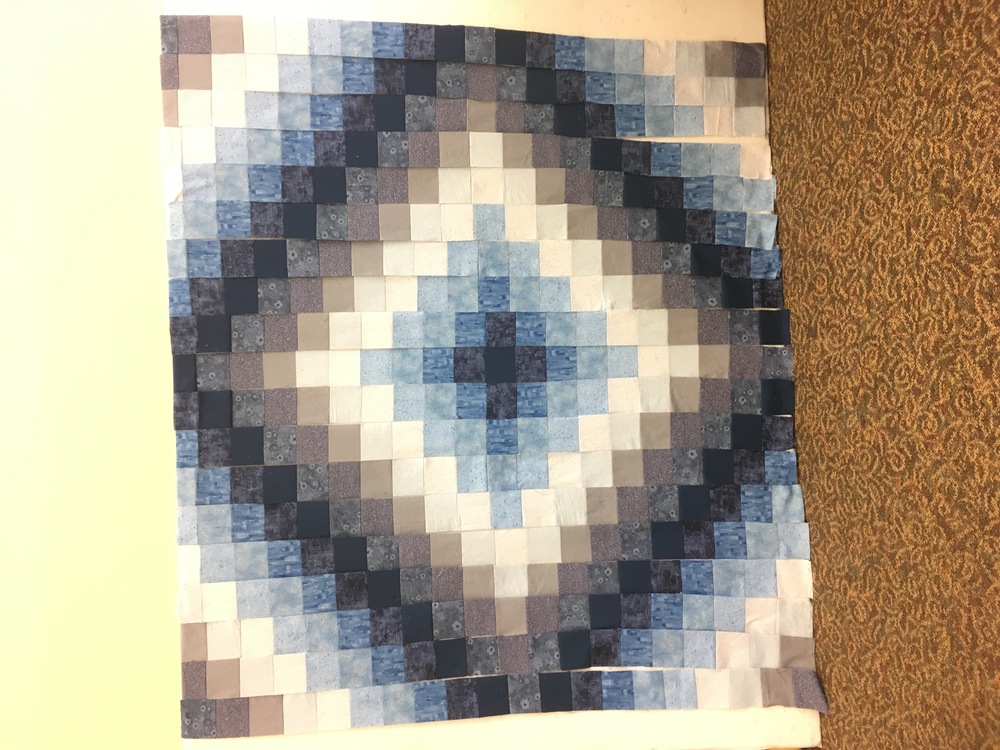
I chose borders to reflect the effect I was going for in the quilt itself. As a bonus, my husband enjoys making pixel art and was delighted by the method and effect.
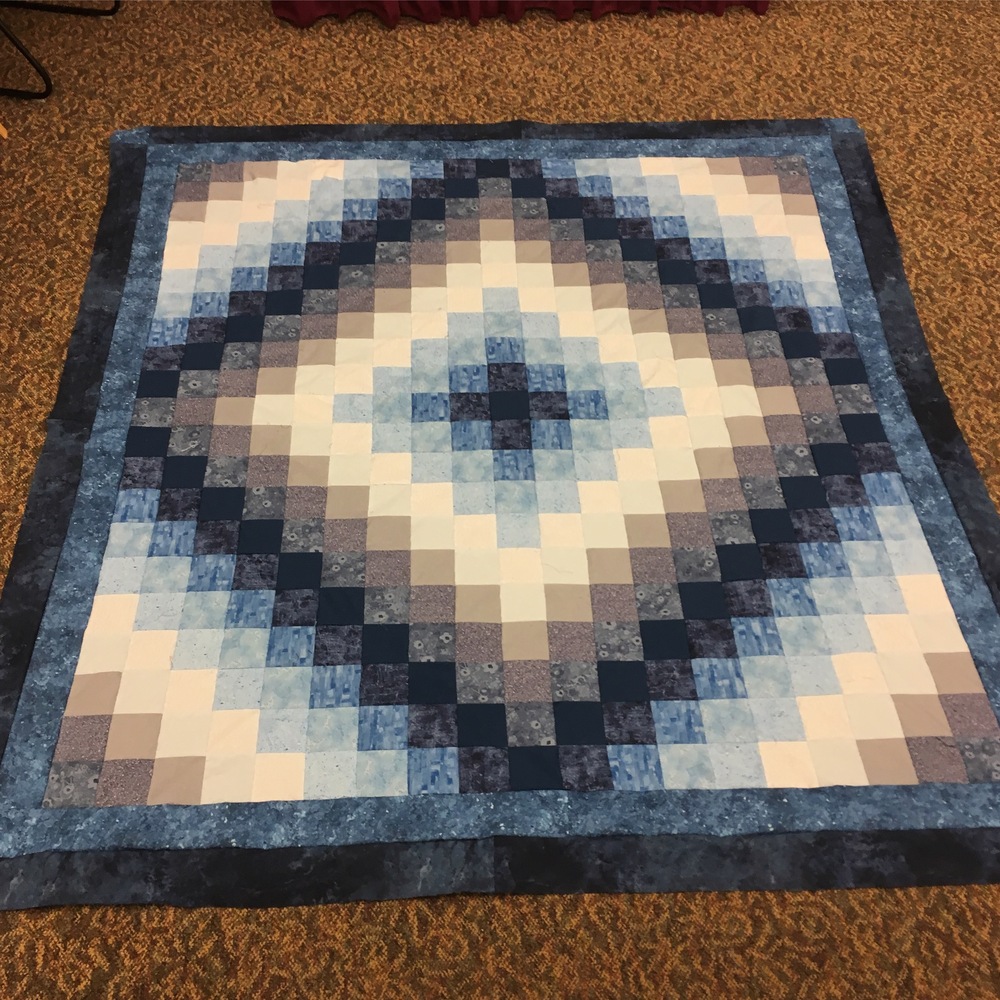
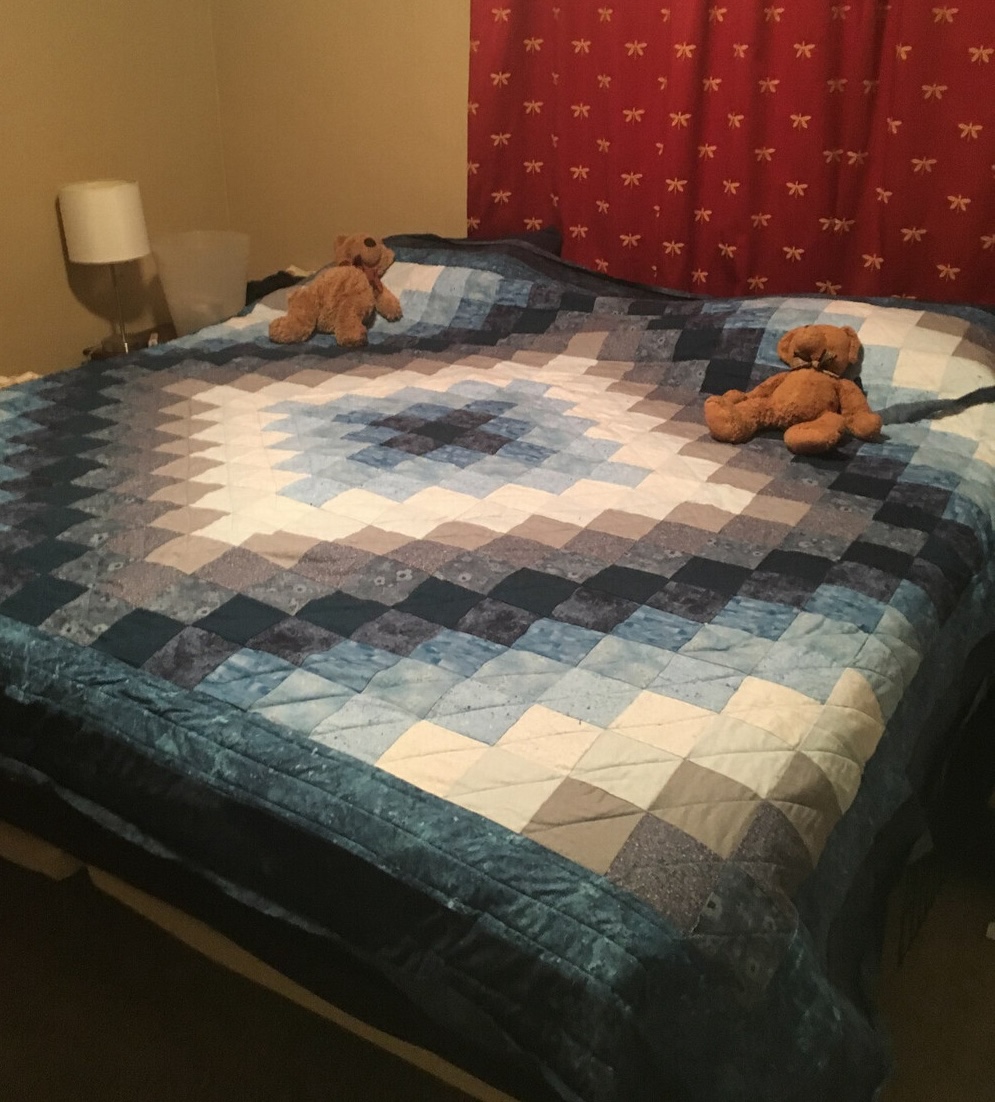
The finished quilt was queen-size, a little small for our king bed but just fine for us.
I also found a writeup of someone using a version of this method. There’s a slight difference in that you make a tube for the unpicking part. It means you don’t have to do any extra sewing but might make cutting the strips harder. Do what works for you!